
The second installment of our 435 part series called Better Know a Feature. Today, we’ll learn how to theme your HipChat add-ons Sidebar based on the selected theme. The FIGHTIN’ SIDEBAR THEME.
Tell me about the fightin’ Sidebar theme
A recently announced feature of HipChat was the ability for end users to choose from a light or a dark theme for their chat window. I personally like a dark theme myself. As a HipChat add-on developer you need to think about what it’ll look like against both themes.
HipChat sends us all the information we need when it requests the sidebar from your add-on as a querystring parameter. But what do you do with that information once you have it? We can use that information to theme our add-on to match the theme that the user picked in HipChat. Before we get to that, let’s demo the end result in the animated gif below.
We start in the light theme and the sidebar of our add-in is optimized for the light theme. Even the photo is picked specifically for this theme. Then I go to my settings and choose the dark theme and we can see that the sidebar changes to be optimized for a dark theme and our image is swapped out to match.
Getting the theme from HipChat
On each request to the sidebar, HipChat will attach some needed information in the querystring to the sidebar url. One of those querystring parameters is theme, this represents which theme the user currently using. In the code sample below we created a JavaScript function to parse the querystring and return the value based on the parameter name we passed in. We would use it like this getParameterByName('theme').
function getParameterByName(name, url) {
  if (!url) url = window.location.href;
  name = name.replace(/[[]]/g, "\
amp;"); let regex = new RegExp("[?&]" + name + "(=([^&#]*)|&|#|$)"), results = regex.exec(url); if (!results) return null; if (!results[2]) return ''; return decodeURIComponent(results[2].replace(/+/g, " ")); } $(document).ready(function () { let userTheme = getParameterByName("theme"); $("body").addClass(userTheme); $("#theme").text(userTheme); }); Once the DOM is ready we can call the getParameterByName function to get the theme value. Then we can add that value as a class name to the body tag of our page. This sets the theme for the page and we can use this class to set the right styles.
Setting up your styles
Now that we have a class set on the page let’s create some styles based on the theme class names.
.dark {
  background-color: #333940;
  color: #ccc;
}
.light {
  background-color: #FFF;
  color: #333;
}
No matter how complex our styles get they’ll all be based on either .dark or .light.
Swapping images
Sometimes you have an image like a logo that works against a light background but have an entirely different asset for dark backgrounds. We can use CSS to solve this as well. In our HTML let’s create a div that will hold both of our images. We’ll identify which theme each image will be for by setting a class name for each image.
<div>
  <img class="dark-dance" src="/img/dark-dance.gif">
  <img class="light-dance" src="/img/light-dance.gif">
</div>
We can use CSS to hide the image we don’t want to display. If the user is using a dark theme we want to hide the image that has the class of light-dance. If the user is using the light theme we want to hide the image that has the class of dark-dance. We can use combined CSS class names in a rule to hide the unneeded image.
.dark .light-dance {
  display: none;
}

.light .dark-dance {
  display: none;
}
That’s the basics. You can use these techniques in your HipChat add-on to present the best design in the context of the user’s choice of theme.
AUI for HipChat
The Atlassian User Interface for HipChat (AUI) is a great starting point for building the UI of your HipChat add-on sidebar. This AUI library will even handle restyling itself based on the theme. If you’re just starting out, I’d recommend looking at this library first.
Try it out
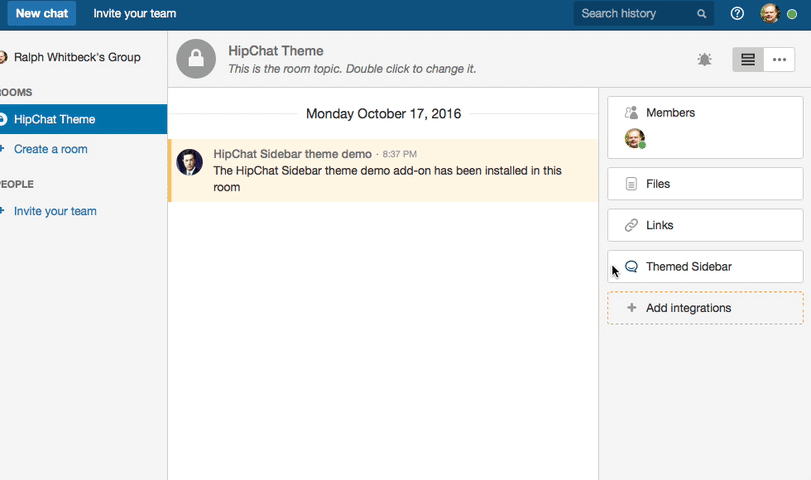
Feel free to install this add-on yourself. To install:
- Go to the Integrations admin of the room you are an admin of.
- Click on “Install an integration from a descriptor url” at the bottom of the integration list.
- Copy the url: https://hipchat-theme.aerobatic.io/atlassian-connect.json
- Paste the url you copied and click Upload.
- Go back into your room and click on the “Themed Sidebar” glance to interact with the sidebar.
- Change your theme in your Settings.
- After you’re done, you can uninstall the add-on by clicking the Remove button on Manage Add-on page for HipChat Sidebar theme demo add-on.
You can also check out the source code at https://bitbucket.org/rwhitbeck/hipchat-theme.
Know of an interesting feature of Connect? Let me know in the comments below or follow me on Twitter, @RedWolves. For more tips like this follow us @atlassiandev.