

1 call is all it takes to create an issue through the Jira Cloud REST API.
But before you can make that call, there are a couple of steps you need to take.
Step 1: Get your API token
To be able to call the REST API endpoint you'll need to authenticate yourself, one way to do this is through using Basic Auth with an API token. That is how we'll do it in this example because we want to keep it simple. I do recommend using OAuth for anything bigger than a single REST call though.
To create an API token you can simply go to your Atlassian account and create a new API token.
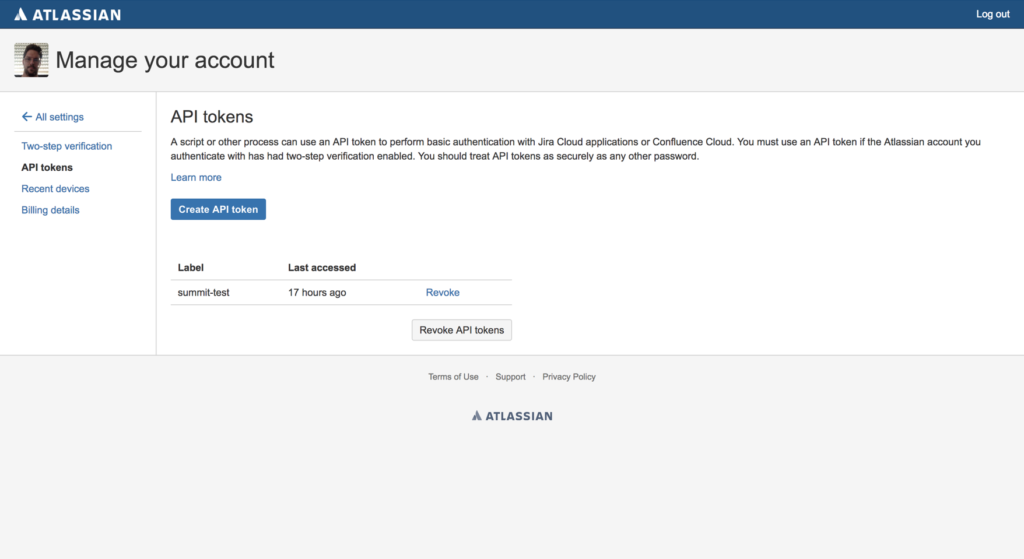
TIP: be sure to copy your API token on creation, you will not be able to retrieve it afterwards.
Step 2: Construct a basic auth header
Now that you have an API token, you can then create a basic auth header. This is needed for any REST API call that requires your account be logged in. Complete steps on this part are in https://developer.atlassian.com/cloud/jira/platform/basic-auth-for-rest-apis/#supply-basic-auth-headers
- First make a string of
yourEMAILaddress:yourAPItoken - Then base64 encode that string.
- The output of that base64 encode is what you would use in the YourEncodedStringHere part below.
Step 3: Build your call
We'll be creating a simple curl command to call our REST API endpoint.
To create an issue we need to call the /rest/api/3/issue endpoint on your Jira Cloud instance.
Take a look below to see how we need to structure to curl call:
curl --request POST \
  --url 'https://<your-jira-cloud-instance>/rest/api/3/issue' \
  --header 'Authorization: Basic YourEncodedStringHere' \
  --header 'Accept: application/json' \
  --header 'Content-Type: application/json' \
  --data '{…}'
Let's go over this one line at a time:
- We call the curl command and let it know we're doing a POST request
- We define the url of the endpoint we'll be posting to.
- We define the Jira user that will authorize the call (and supply the encoded emailaddress:APItoken string created in step 2)
- We define that we'll be accepting JSON content
- We define that we're posting JSON content
- This is where we will fill in the actual data we want to post (which will be used to create our new issue)
Now let's deepdive into the data content, here is an example:
 "fields": {
        "summary": "Summit 2019 is awesome!",
        "issuetype": {
            "id": "10009"
        },
        "project": {
            "key": "TEST"
        },
        "description": {
            "type": "doc",
            "version": 1,
            "content": [
                {
                "type": "paragraph",
                "content": [
                    {
                    "text": "This is the description.",
                    "type": "text"
                    }
                ]
                }
            ]
        }
    }
This will create an issue in the project with project key TEST with a summary of "Summit 2019 is awesome!" and a description of "This is the description." We will also need to define the issue type based on the issue type id. You can find more information about how to find issue type ids further down in this blogpost.
Sometimes you will need to know all the required fields for to create an issue of a certain type in a given project. At the bottom of this blog post you can find a tip on finding all fields on the issue create screen, including whether or not they are required. Be sure to check it out.
If you want a full insight in all that's possible with this call take a look at our reference documentation.
Now we are ready for the final step.
Step 4: Create your issue
Now you simply need to execute your curl command, and if everything was done well, you should get this kind of result back:
{
"id":"10052",
"key":"TEST-6",
"self":"https://pvandevoorde.atlassian.net/rest/api/3/issue/10052"
}
This gives you the issue id, the issue key, and a REST API endpoint for the issue you've just created.
Or you can just go and have a look in your Jira instance:
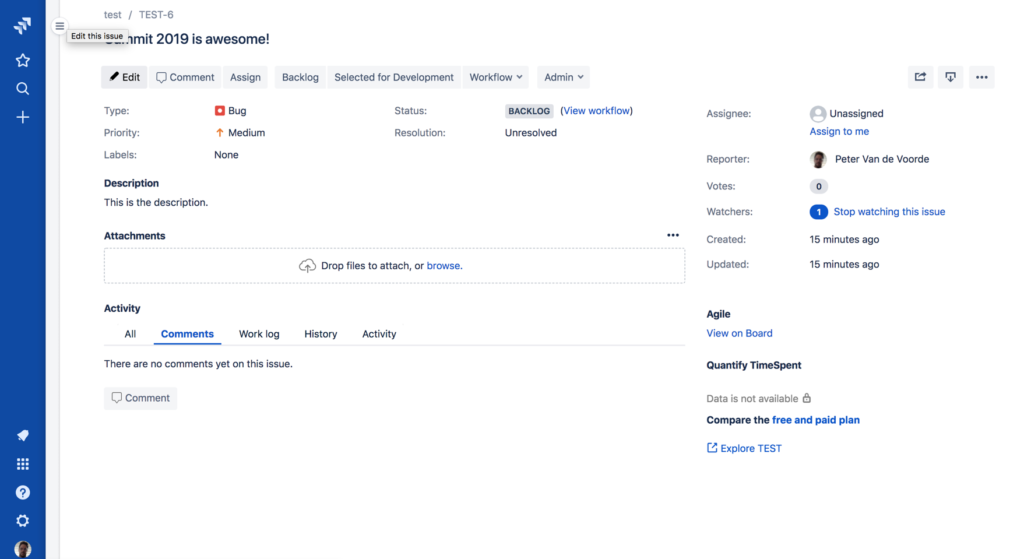
Congratulations you've just created your first issue through the Jira Cloud REST API!

Extra: tips and tricks
Let me give you a couple of tips and tricks that might help you along.
Trick 1: Finding the issue type ids
The easiest way to find the issue type ids is by calling the issuetype REST API endpoint.
Like this:
curl --request GET \
  --url 'https://<your-jira-cloud-instance>/rest/api/3/issuetype' \
  --header 'Authorization: Basic YourEncodedStringHere' \
  --header 'Accept: application/json' \
This will return a full list of all issue types, and their ids, for you to go through and select the one you need.
Trick 2: Finding the project keys
The easiest way to find the project keys is by calling the project search REST API endpoint.
Like this:
curl --request GET \
  --url 'https://<your-jira-cloud-instance>/rest/api/3/project/search' \
  --header 'Authorization: Basic YourEncodedStringHere' \
  --header 'Accept: application/json' \
This will return a full list of all projects, and their keys, for you to go through and select the one you need.
Trick 3: Finding the fields needed to create an issue
Sometimes you want to figure out which fields are required or available during the creation of an issue.
The easiest way to find this information is by (yet again) calling a REST API endpoint. Namely the issue create metadata one.
Like this:
curl --request GET \
  --url 'https://<your-jira-cloud-instance>/rest/api/3/issue/createmeta' \
  --header 'Authorization: Basic YourEncodedStringHere' \
  --header 'Accept: application/json' \
This will return a full list of all projects, the available issue types in each project, and if requested it will return the create screen fields (both required and optional fields) for the selected issue type in the specified project.
I hope this blog post helped you create your first Jira Cloud issue through the REST API and will get you started on building more interesting integrations with Jira Cloud.
If you have any feedback or questions feel free to let us know on the Atlassian Developer Community!
Or reach out to us on twitter @pvdevoor or @atlassiandev.