Minecraft is one of my favorite video games of the last few years and if sales numbers are anything to go by, over 17 million other people agree with me! One of the great things about Minecraft is the permanence of your achievements; if you build something awesome out of Minecraft blocks, it becomes an indelible part of the virtual world you play in. I love being able to share my Minecraft contraptions with my friends, but it can be really expensive to host a Minecraft multiplayer server to do this. Using some freely available tools and cheap Amazon AWS hosting, I’ll show you how to share your Minecraft world online for just a few dollars a month!
![]()
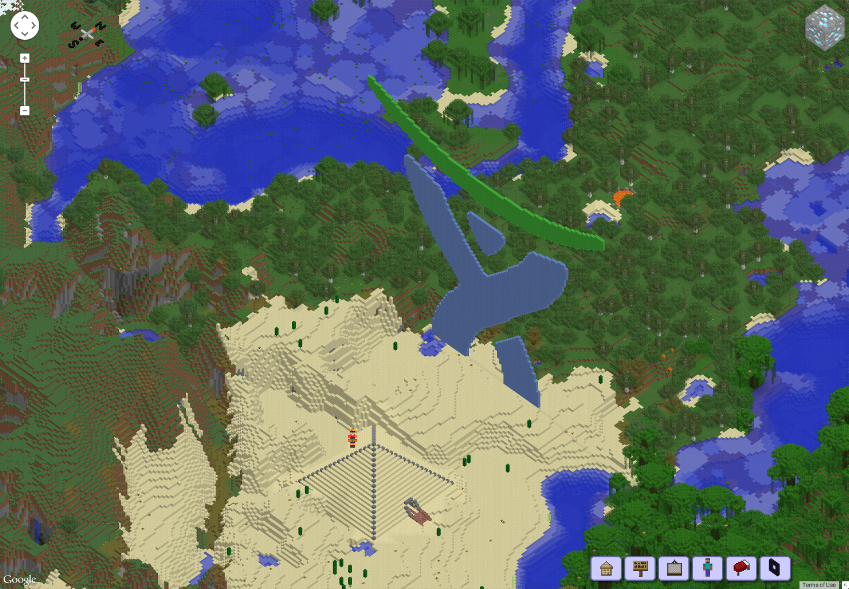
Minecraft Map Rendering
Fortunately, numerous third-party mapping tools exist for this very purpose! These tools generate a custom “view” of your Minecraft world that doesn’t require running the full Minecraft server, or using the Minecraft client to access it.
I’ve been using a mapping tool called Tectonicus, which loads your Minecraft save files and uses LWJGL to render the world into static images. The images are then loaded into the Google Maps JavaScript API, which has a nifty feature that allows custom images to be treated as map information, allowing users to pan and zoom across arbitrary image tiles. There’s even a custom map projection API for co-ordinates in the flat Minecraft world to be translated to latitude and longitude.
To get up and running, download Tectonicus and create a simple XML configuration file (in the following example, be sure to update the
outputDir and worldDir values to suit your local environment).
<tectonicus version="2">

    <config outputDir="/Users/jclark/Pictures/MyWorld" numZoomLevels="8"/>

    <map name="My World Map"

         worldDir="/Users/jclark/Library/Application Support/minecraft/saves/MyWorld"

         dimension="terra"

         closestZoomSize="12">

         <layer name="Day" lighting="day" renderStyle="normal" />

    </map>

</tectonicus>
Then you can invoke Tectonicus from the command-line:
java -Xmx1024m -jar Tectonicus.jar config=MyConfig.xml
Once the Tectonicus process has finished running, your outputDir will now contain a map.html file and some other files and folders:
$ ls ~/Pictures/MyWorld

Cache       Images      Map0        Scripts     changed.txt map.html
You can open the map.html file in a browser and you’ll see the generated view. Pretty neat!
Building a Tectonicus map to share online has a number of advantages:
- You don’t need to worry about strangers finding and logging in to your Minecraft server.
- You can host the map using a static file-hosting service, which is much cheaper than running a full-blown Minecraft server in the cloud.
Speaking of static file-hosting, let’s find somewhere to host our map files!
Static Hosting with AWS
Even in 2015, it’s still going to cost you some money to serve static files on the Internet over HTTP. Amazon S3 (“Simple Storage Service”) is offered as part of the AWS Free Usage Tier, but even uploading a moderately-sized Tectonicus map to S3 a couple of times will quickly exceed the monthly free quota. Still, it’s hard to beat Amazon’s prices (3c per GB!) and AWS has some neat command-line tools that will make uploading our map a snap!
If you haven’t used AWS before, head over to https://aws.amazon.com and sign up for an account. You’ll automatically be opted-in to the free usage tier and billed for any excess usage. Once logged in, access the S3 Management Console and create a new S3 bucket (hit the “create bucket” button). A bucket is just a named location for files in S3. You’ll need to select a unique name for your bucket, and select a region for the bucket to be hosted in.
Once the bucket has been created, click on it in the console view, expand the “Permissions” section and then click “Add bucket policy”:
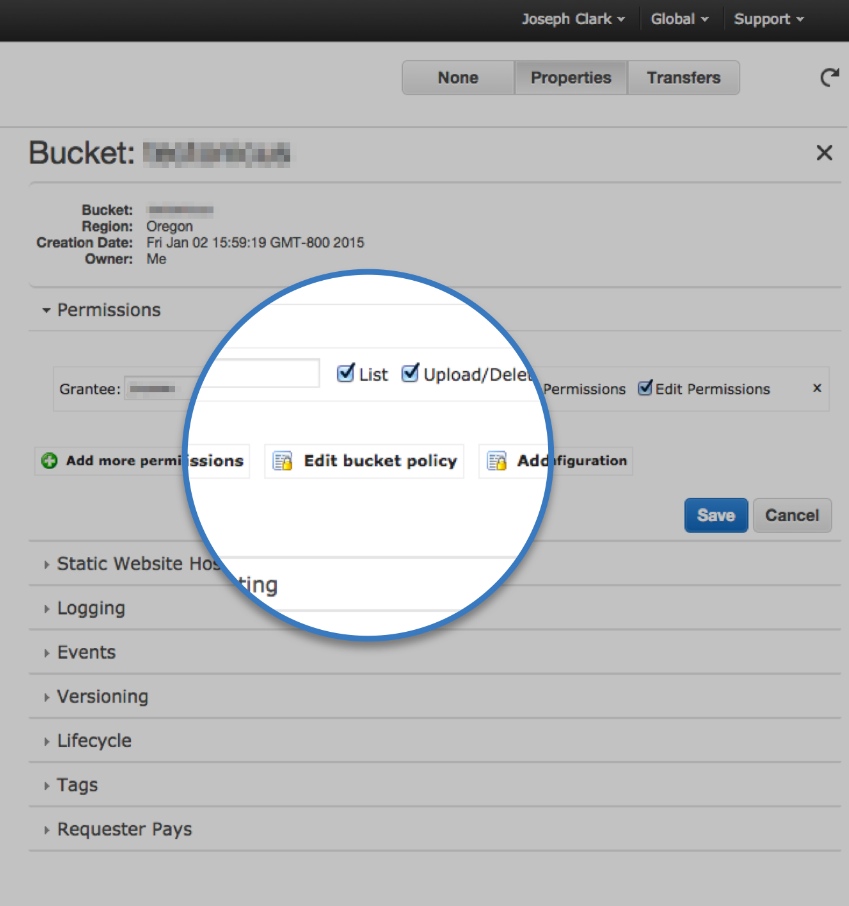
In the bucket policy dialog, paste the following JSON snippet (make sure to replace tectonicus/ in the "Resource" property with your own Bucket name) and then click “Save”.
{

  "Version":"2012-10-17",

  "Statement":[{

    "Sid":"PublicReadGetObject",

      "Effect":"Allow",

      "Principal": "*",

      "Action":["s3:GetObject"],

      "Resource":["arn:aws:s3:::tectonicus/*"]

    }

  ]

}
Next, expand the “Static Website Hosting” section, select the “Enable website hosting” option and type “map.html” as the “Index Document”. Then, click “Save”. From this point on, anything you upload to this S3 Bucket will be completely open to the Internet, so be certain to use it just for your Minecraft map and not any other purpose.
Keep note of the URL listed as the endpoint for this bucket. That’s the URL you’ll be using to share the map with others.
Now we have an Amazon S3 Bucket ready to serve our map files; let’s upload them!
Syncing to S3
We’re going to use the AWS Command Line Interface to upload our map. You can follow the instructions on the CLI download page if you haven’t installed this before. But, before we go any further, let’s see what we can do to reduce the amount of content we need to upload. Putting content into S3 is relatively expensive compared to simply viewing it, so anything we can do to reduce this will have a tangible impact on your monthly AWS bill!
You can see how big your generated map is by calculating the size of the outputDir:
$ du -hs /Users/jclark/Pictures/MyWorld

126M    TestWorld
My example world’s map is 126M. Not that big in the grand scheme of things, but uploading it multiple times will add up pretty fast. Let’s see what we can do to reduce it.
The default Tectonicus config file generates multiple zoom layers for the Google Maps interface. We can drastically reduce the amount of content to upload by reducing the amount of zoom that we make available to others. Additionally, we don’t want long exploration trips in Minecraft to generate more world space that needs to be rendered and uploaded; Tectonicus allows the configuration file to specify a radius to limit the part of the map that will be rendered. Let’s create a new config file to take advantage of these options:
<tectonicus version="2">

    <config outputDir="/Users/jclark/Pictures/MyWorld" numZoomLevels="0"/>

    <map name="My World Map"

        worldDir="/Users/jclark/Library/Application Support/minecraft/saves/world"

        dimension="terra"

        closestZoomSize="48">

        <subset>

            <CircularSubset origin="0, 0" radius="300" />

        </subset>

        <layer name="Day" lighting="day" renderStyle="normal" />

    </map>

</tectonicus>
This config has a couple of changes from our previous example:
- The
numZoomLevelsvalue is reduced from 8 to 0. This instructs Tectonicus to generate only a single zoom layer of images. - The
closestZoomSizeis increased from 12 to 48. This value controls how much of the world is visible in each image tile of the default zoom layer. A higher value means more of the world is visible within a single image. - The
CircularSubsetelement is added. With this command, Tectonicus will only render a circle around the spawn point with a diameter of 300 blocks, rather than rendering the entire map.
We’ve reduced the volume of the render by targeting an explicit subset of the world. As the Minecraft world is explored and more world data is generated, the Tectonicus map will still remain the same size. Additionally, we’ve reduced the fidelity of the render by essentially disabling the zoom feature. When multiple zoom levels are used in the map, Tectonicus must render the same patch of the world multiple times at different levels of detail, which produces an order of magnitude of image data relative to the number of zoom levels.
These changes should drastically reduce the amount of image data generated by Tectonicus, although the exact amount will depend on the specific Minecraft world being rendered. You can delete your outputDir and re-run the Tectonicus command to see what a difference this makes.
$ du -hs /Users/jclark/Pictures/MyWorld

 40M    /Users/jclark/Pictures/MyWorld/
Much better! We cut the disk usage by two-thirds, but took a bit of a quality hit in order to get there. You might like to experiment with different configurations to find your ideal balance between hosting costs and image quality, but I’d suggest starting with low quality first and then moving up from there.
Now we can upload our map to S3, but there’s actually even more we can cut from the transfer size. The Cache directory in the outputDir is actually just a working folder that Tectonicus uses to cut down on successive render times (it does a checksum to see which Chunks have changed and only re-renders the changed chunks). You should keep this folder on your local machine to speed up successive renders, but you don’t need to upload it to S3. Similarly, the changed.txt file is just a debug log of Tectonicus’ changed-chunk detection process and can also be omitted.
The AWS CLI has a “sync” command which can be configured to exclude certain paths. It also has the benefit of doing a differential copy to the S3 bucket (meaning it won’t upload a file that already exists in the bucket if it hasn’t changed). Once you have the AWS CLI installed, it’s a simple one-liner to run the sync (don’t forget to change the outputDir and bucket-name values to your own).
$ aws s3 sync /Users/jclark/Pictures/MyWorld s3://tectonicus/ --exclude "Cache/*" --exclude "changed.txt"
Once this script has finished running, you can open your S3 Endpoint URL in a web browser (I told you to remember it from earlier!) and the Tectonicus map interface should load automatically! You can re-run the Tectonicus render and then the sync command at any time to upload the changes to your Minecraft world to the S3 Bucket, and it will only transfer the changed files.
Wrapping Up
At this point, you should leave your AWS account alone for a day, then log in to the AWS console tomorrow and see what your estimated usage bill was from that single upload. From there, you can extrapolate what your monthly usage would be. Keep in mind that the more frequently you perform the upload, the higher your monthly bill will be. Users who access and view your map will also accrue usage charges on your bill (you may notice I have not provided a link to my own Minecraft map!).
From here, there are more enhancements you can make – try hosting the map HTML from a custom domain, or configure your Minecraft profile to automatically run the map update whenever you quit Minecraft. Many people have discovered the joy of software engineering after starting to tinker with the possibilities in Minecraft.
Happy crafting, and watch out for creepers!