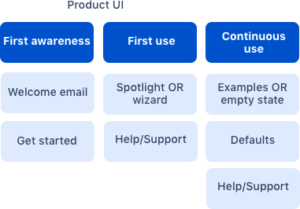
Now that we’ve covered the overall journey required for your app to get up and running successfully in a product, we will take a closer look at what the admin user needs to know and how to help them.
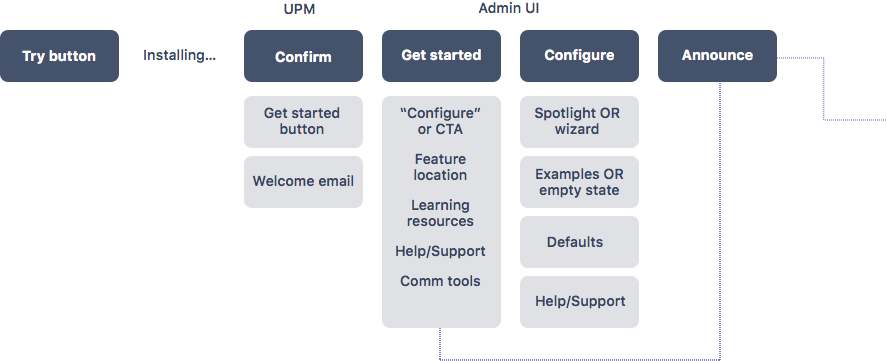
Step 1: Confirm
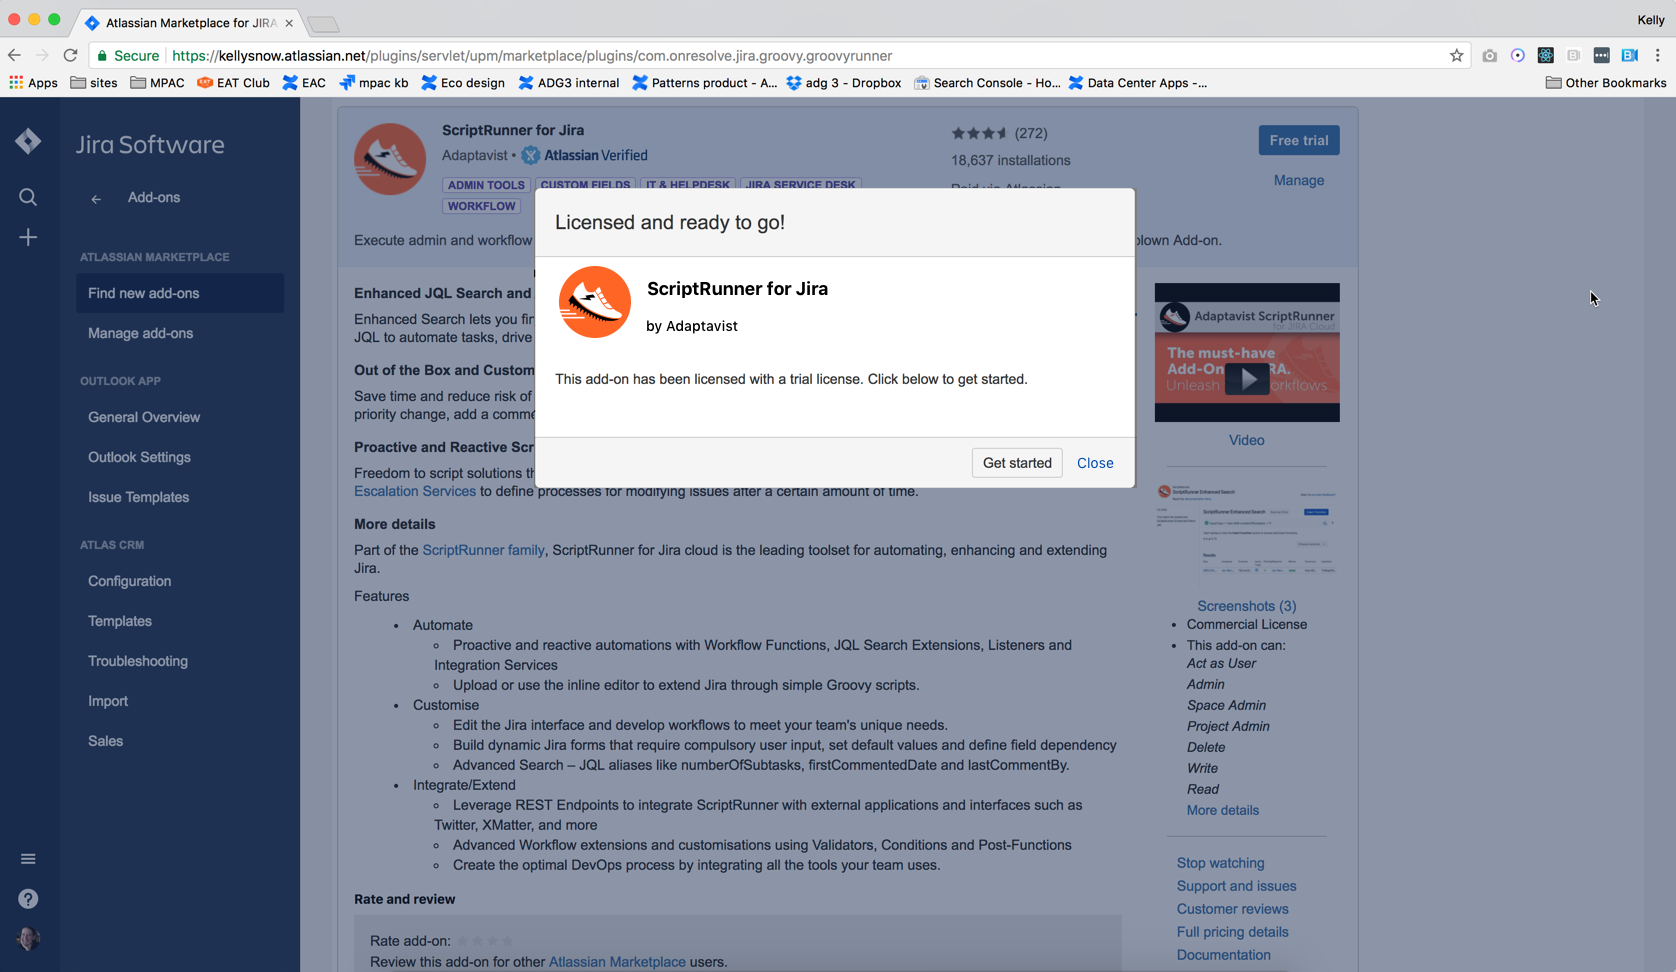
The first opportunity to control the user experience of installing an app occurs with the post-install modal. You can trigger a modal at the end of the installation process by adding a get started URL to the descriptor. Marketplace detects that URL and presents a “get started” or a “Configure” button on the modal.
Get Started button (recommended)
We recommend a Get Started button that takes you to a Get started landing page that you control. If you have configuration steps, be sure to indicate that on the page and link to configuration.
- How to do this Create a
postInstallPageto provide next steps about your app to the admin. See Get Started page below. The presence of this page type is detected and used by the confirmation modal, creating a “Get Started” button. Read the postInstallPage docs - Alternative: Configure button Another option is to include a configure url in the descriptor. Marketplace will present this if detected. For simple, straightforward apps, the ideal experience is to direct users to the configure page, skipping a get started landing page. Configure pages should provide clear instructions and a link to your support documentation or ticketing system. If your app doesn’t need configuration, skip this.
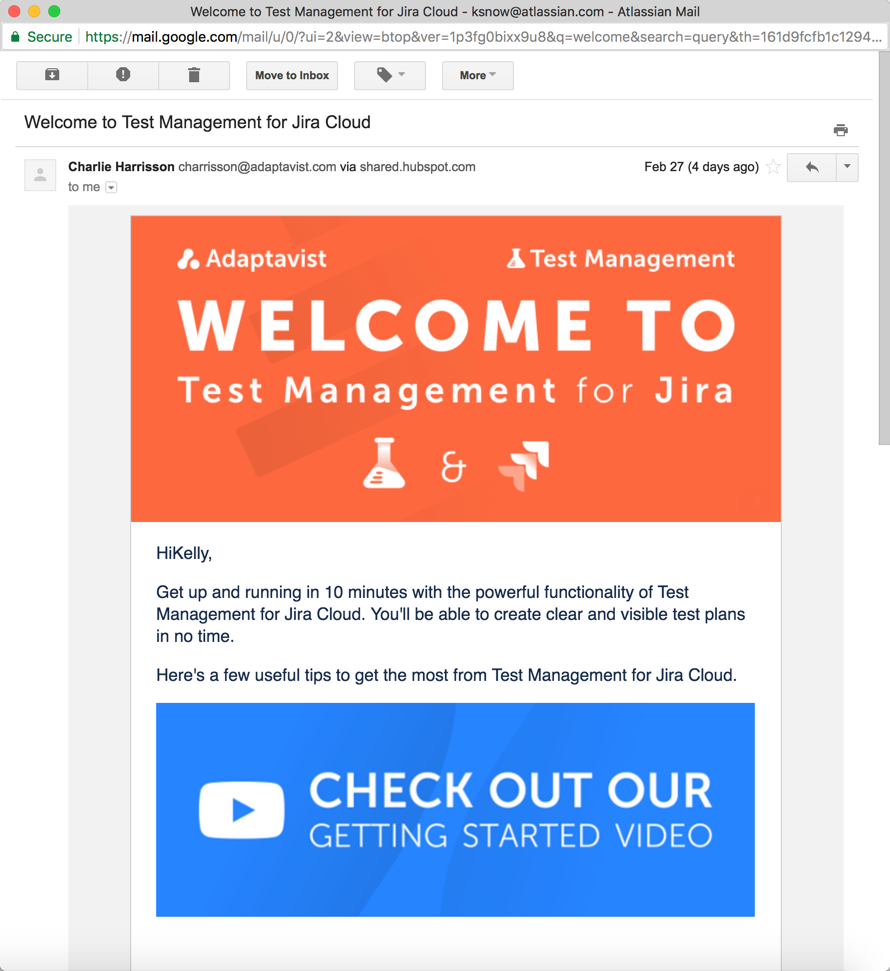
Welcome email
When your app is installed, you can trigger an email to the installer. This is helpful to your admin user as another signal the app installed correctly. It is also an opportunity to introduce you, the vendor.
Step 2: Get started landing page
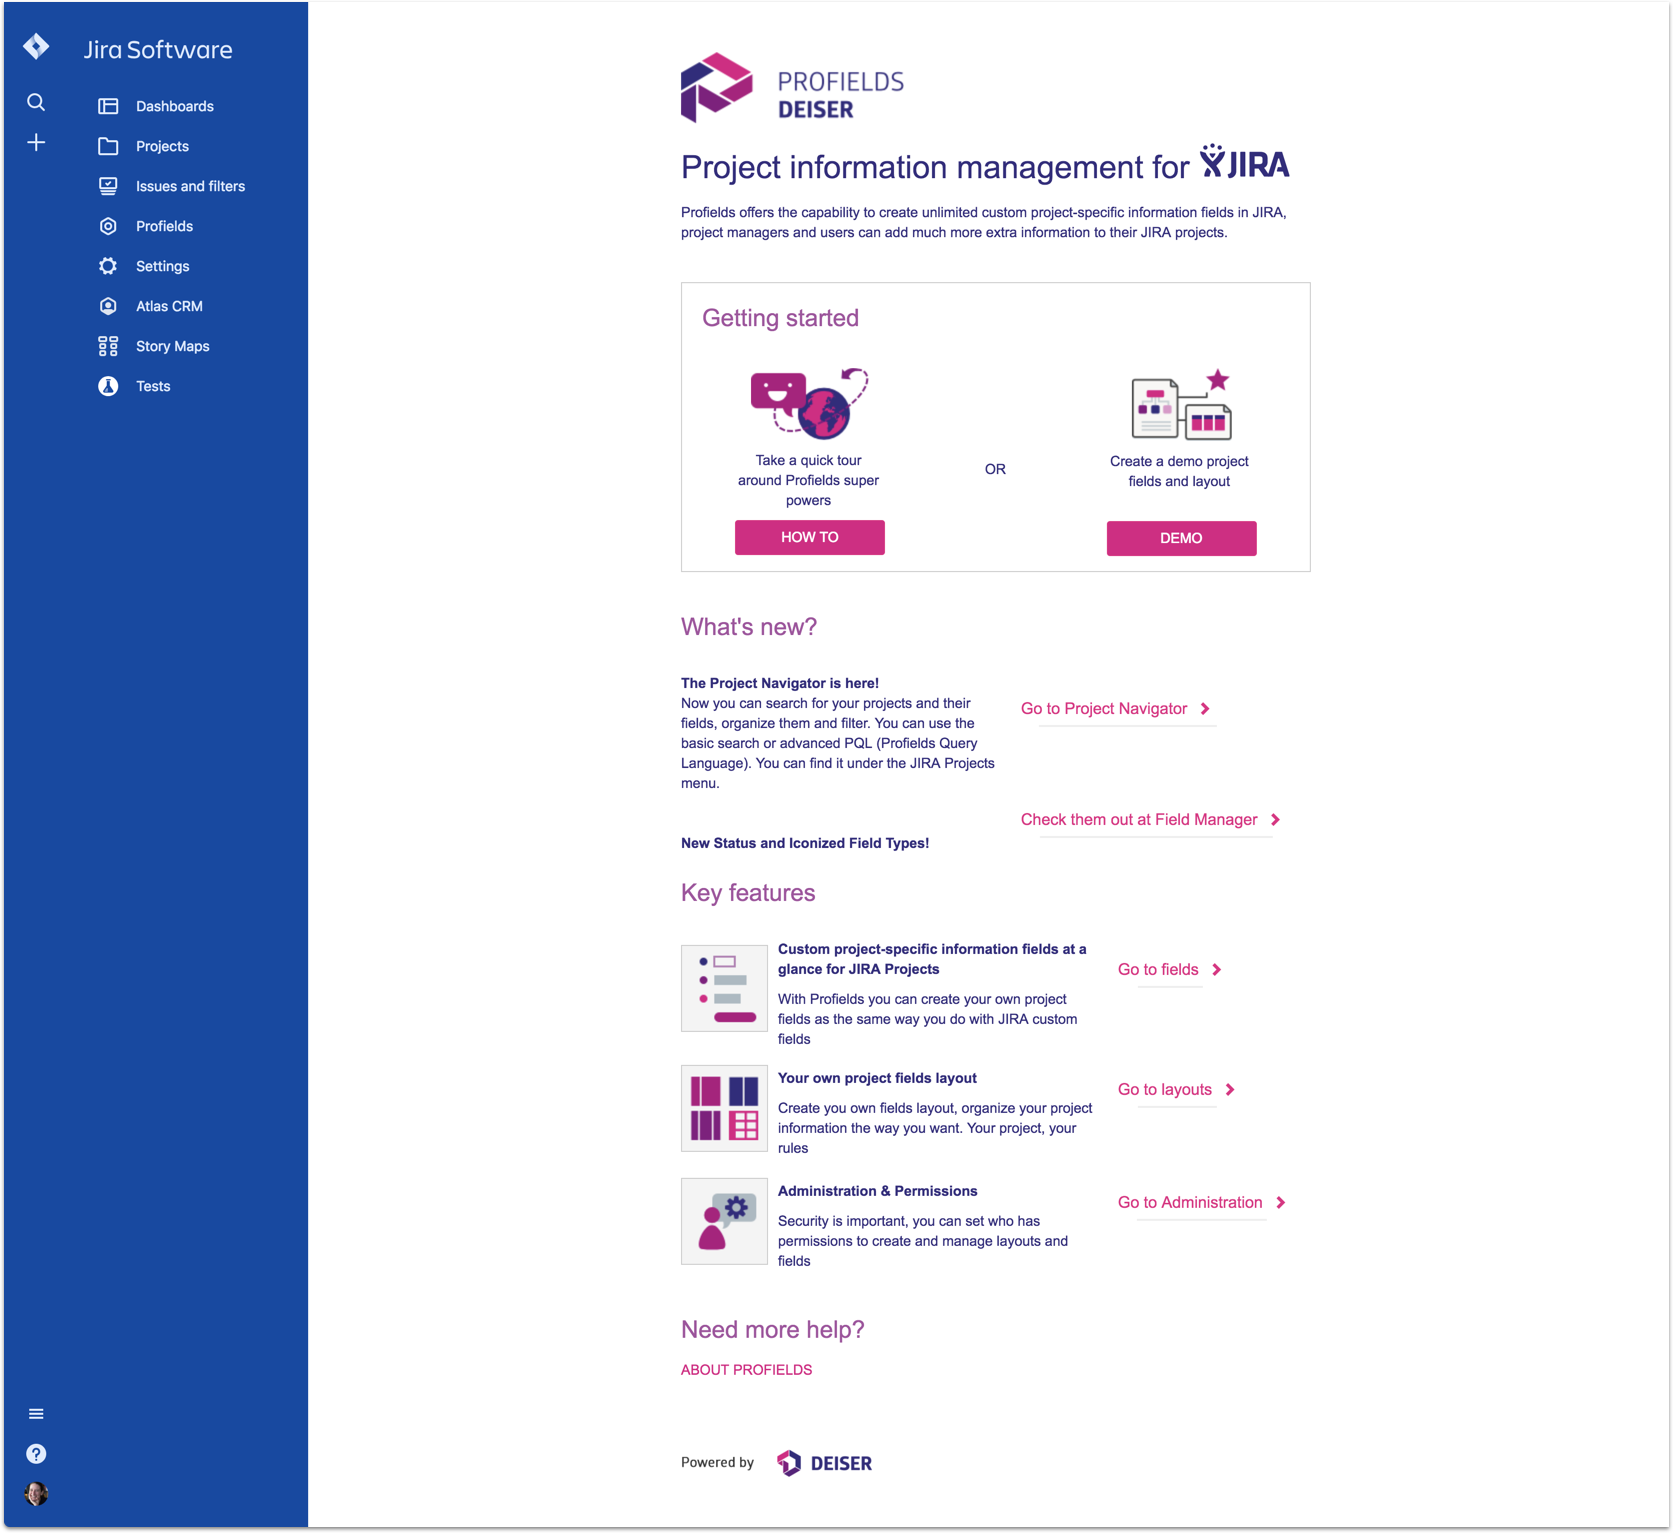
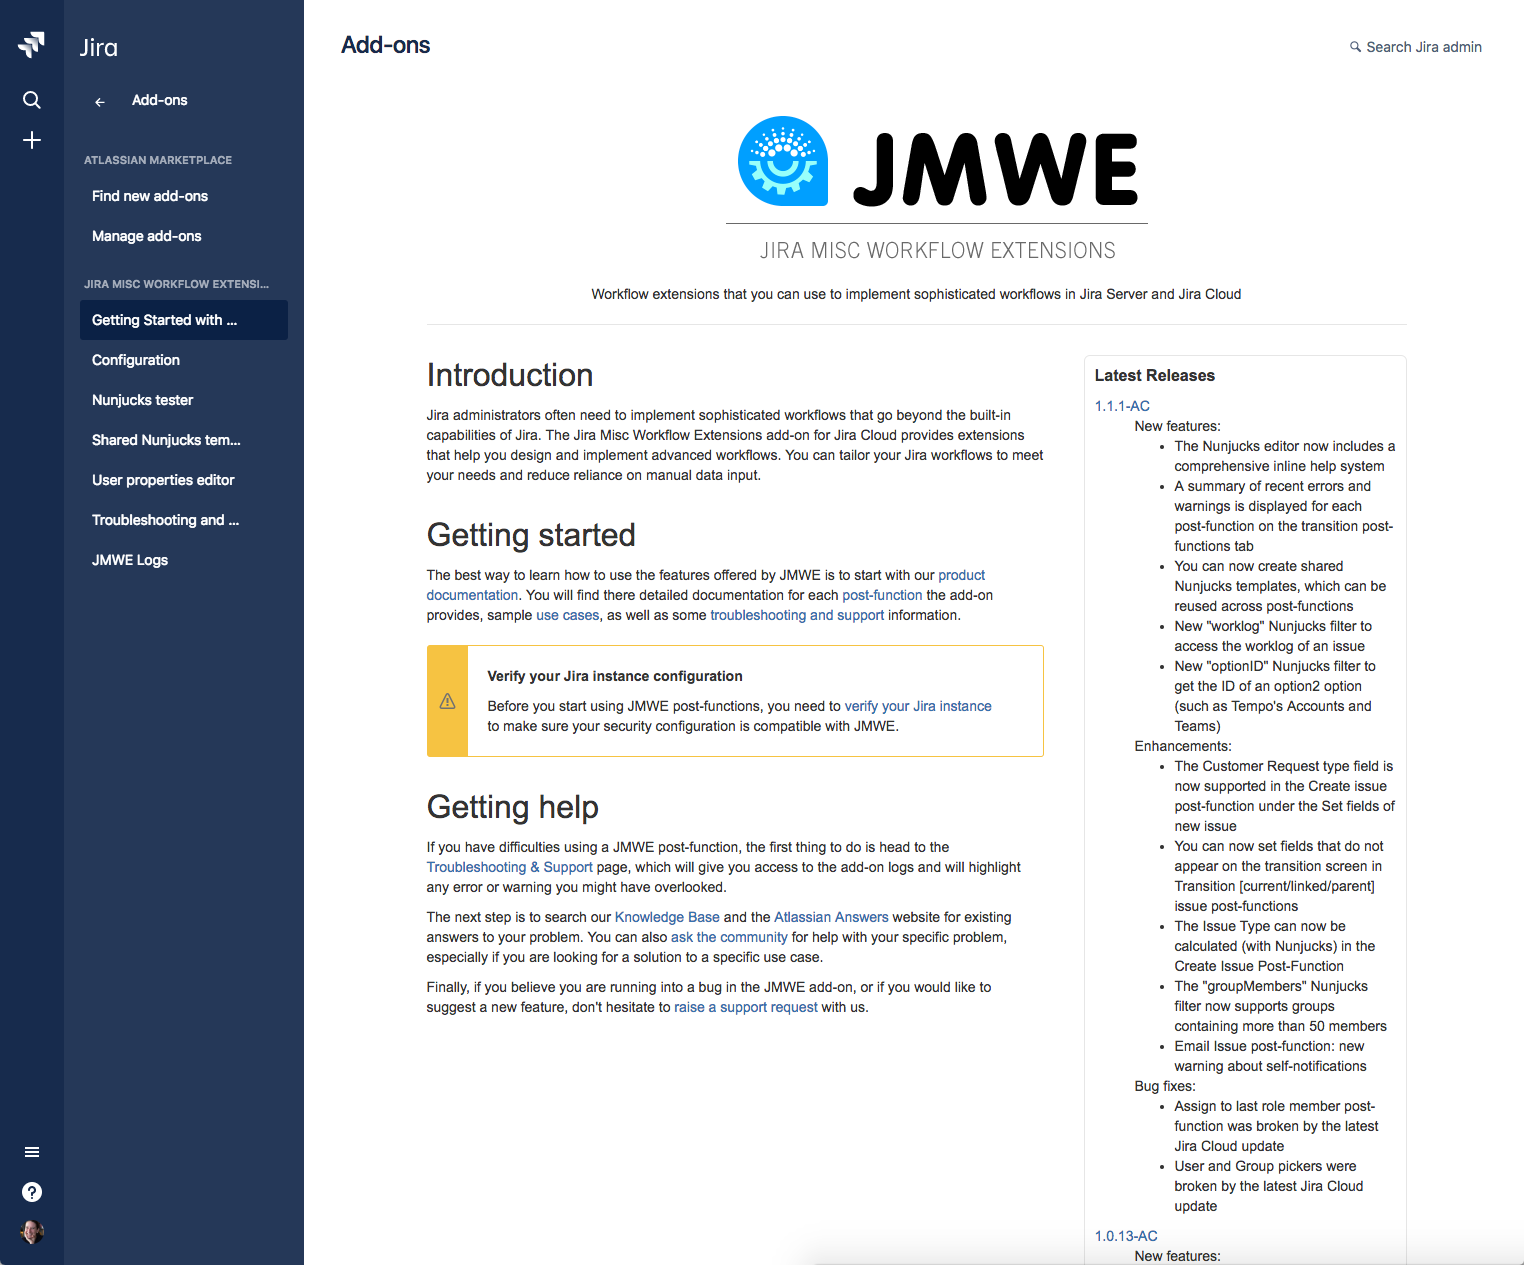
You should really think about a Get Started page if you don’t have one already. It should be the first thing your admin sees after finishing the installation step. When they click on that “Get Started” button, it provides them context for the app and should direct them on what to do next. This is a channel that you control to communicate with product admins, and should be applied whether you have configuration or not.
Key content considerations:
- Instructions to set up your app the first time. If Configuration is required, that should be the first step.
- Provides support information, links to user guides or your ticketing system if they get stuck.
- Provides feature information so an admin learns what the app does so they can help end users.
- Drive feature awareness by asking admins to announce the feature to end users.
- If you are providing navigation for your appin the product administration, consider adding a get started link so your admin can access this page at any time.
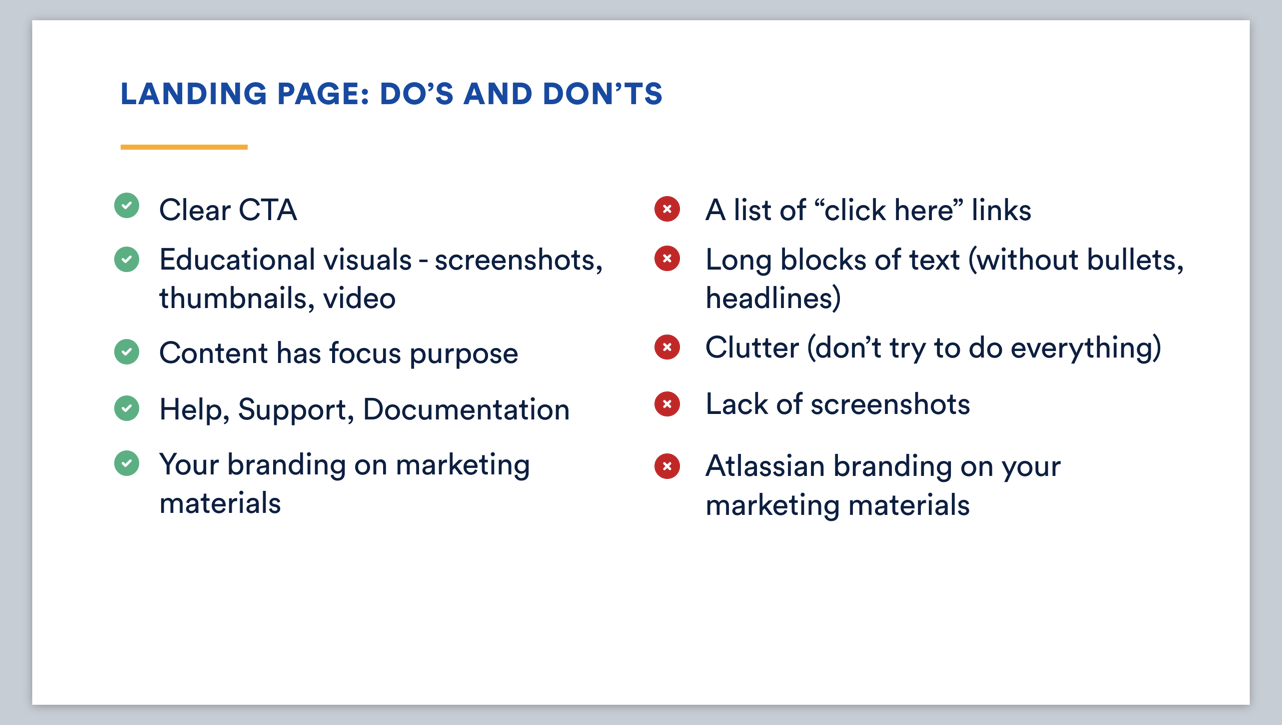
As you identify content and design, here are a few tips to keep in mind.
Get started HTML template
Use this template to get started or roll your own! This static html page provides key content areas to consider, along with basic formatting and elements like an image and Button with clear call to action.
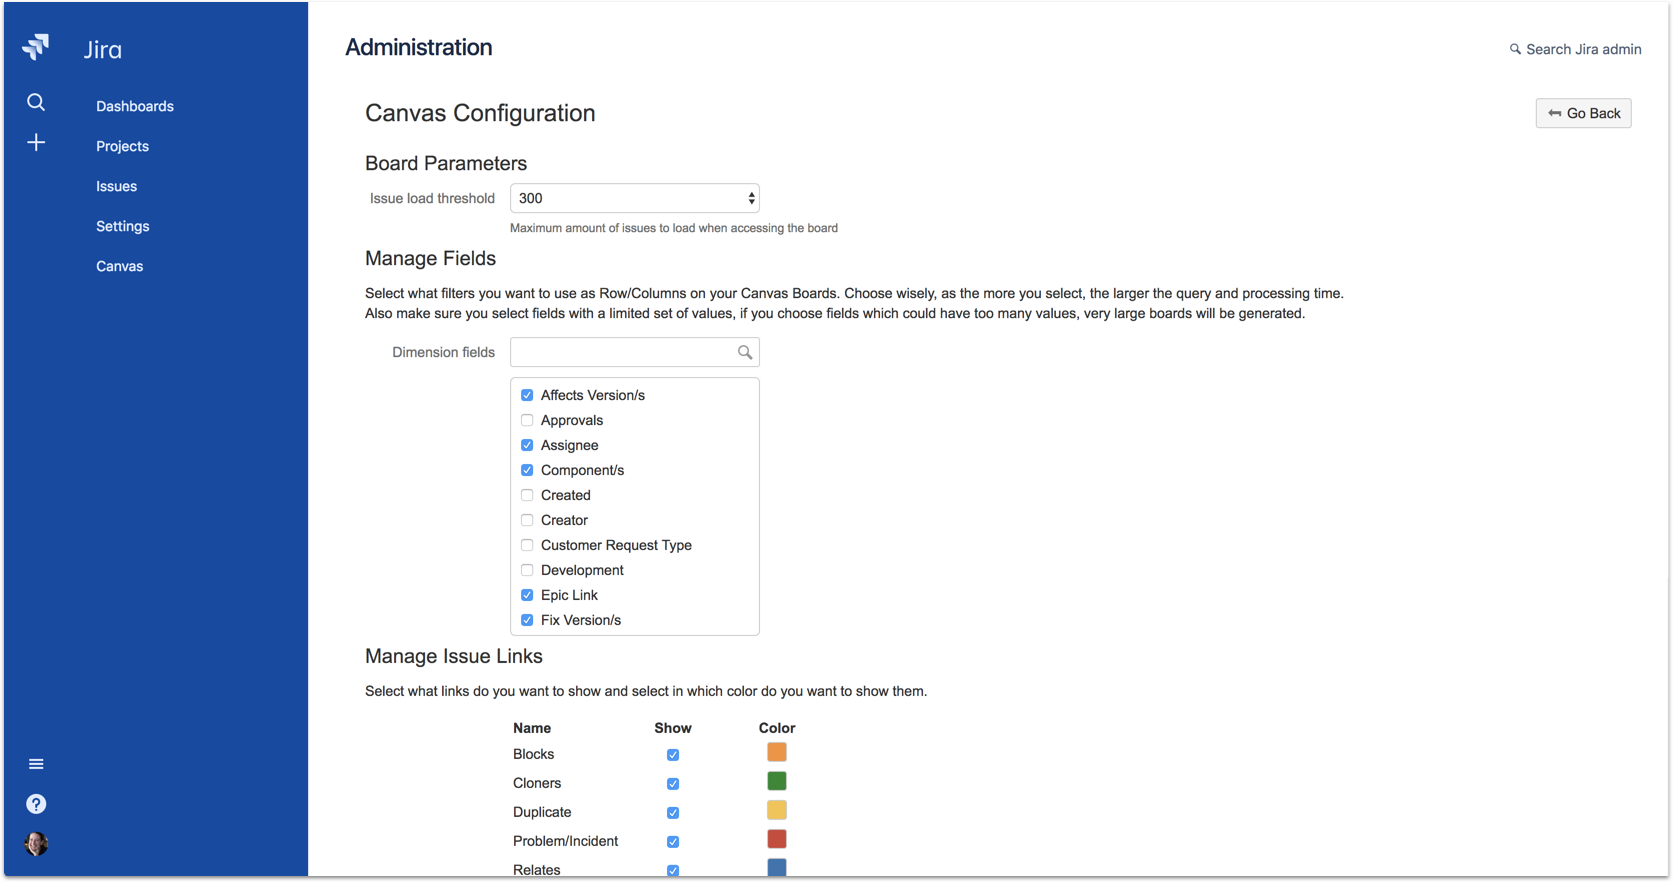
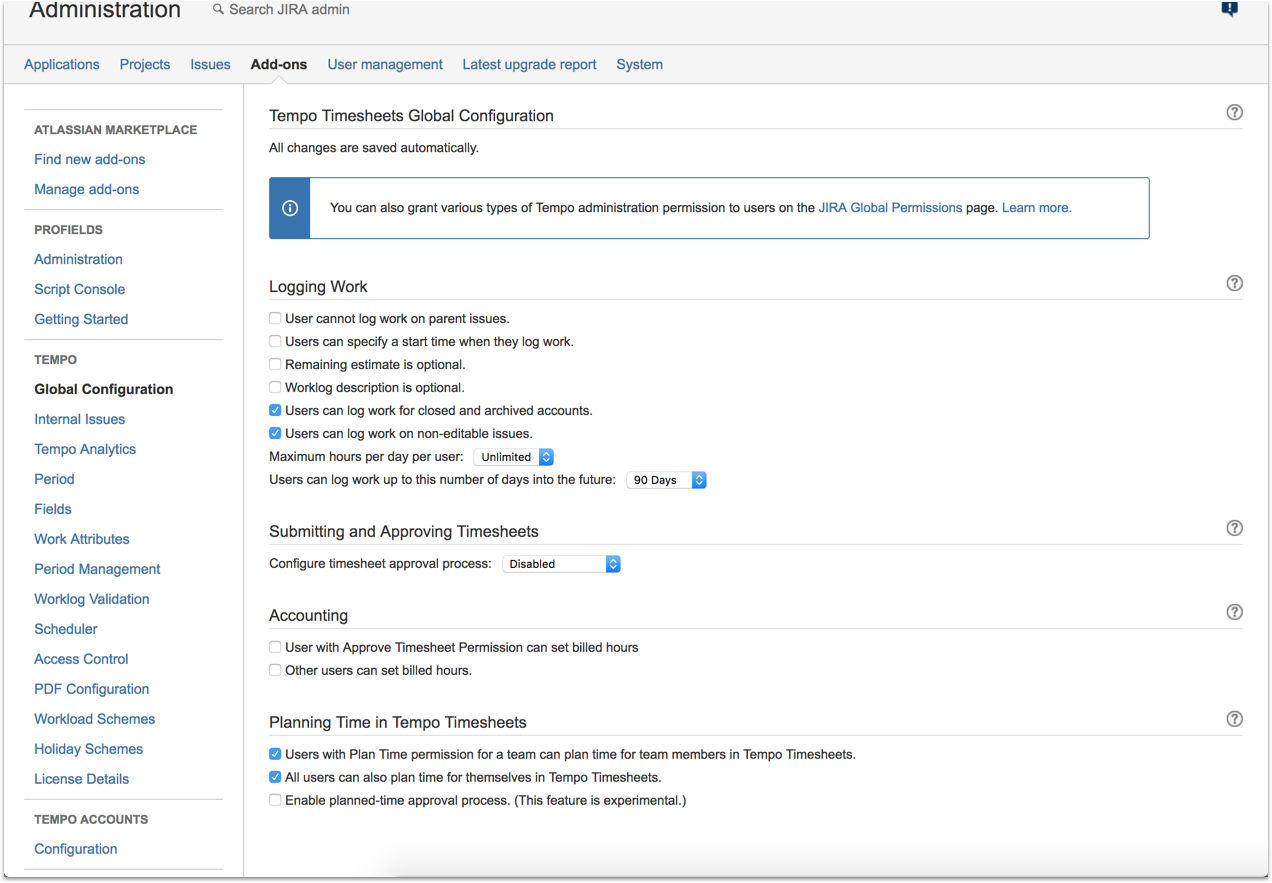
Step 3: Configure
There are several patterns to aid your admin or end user in getting your feature operational.
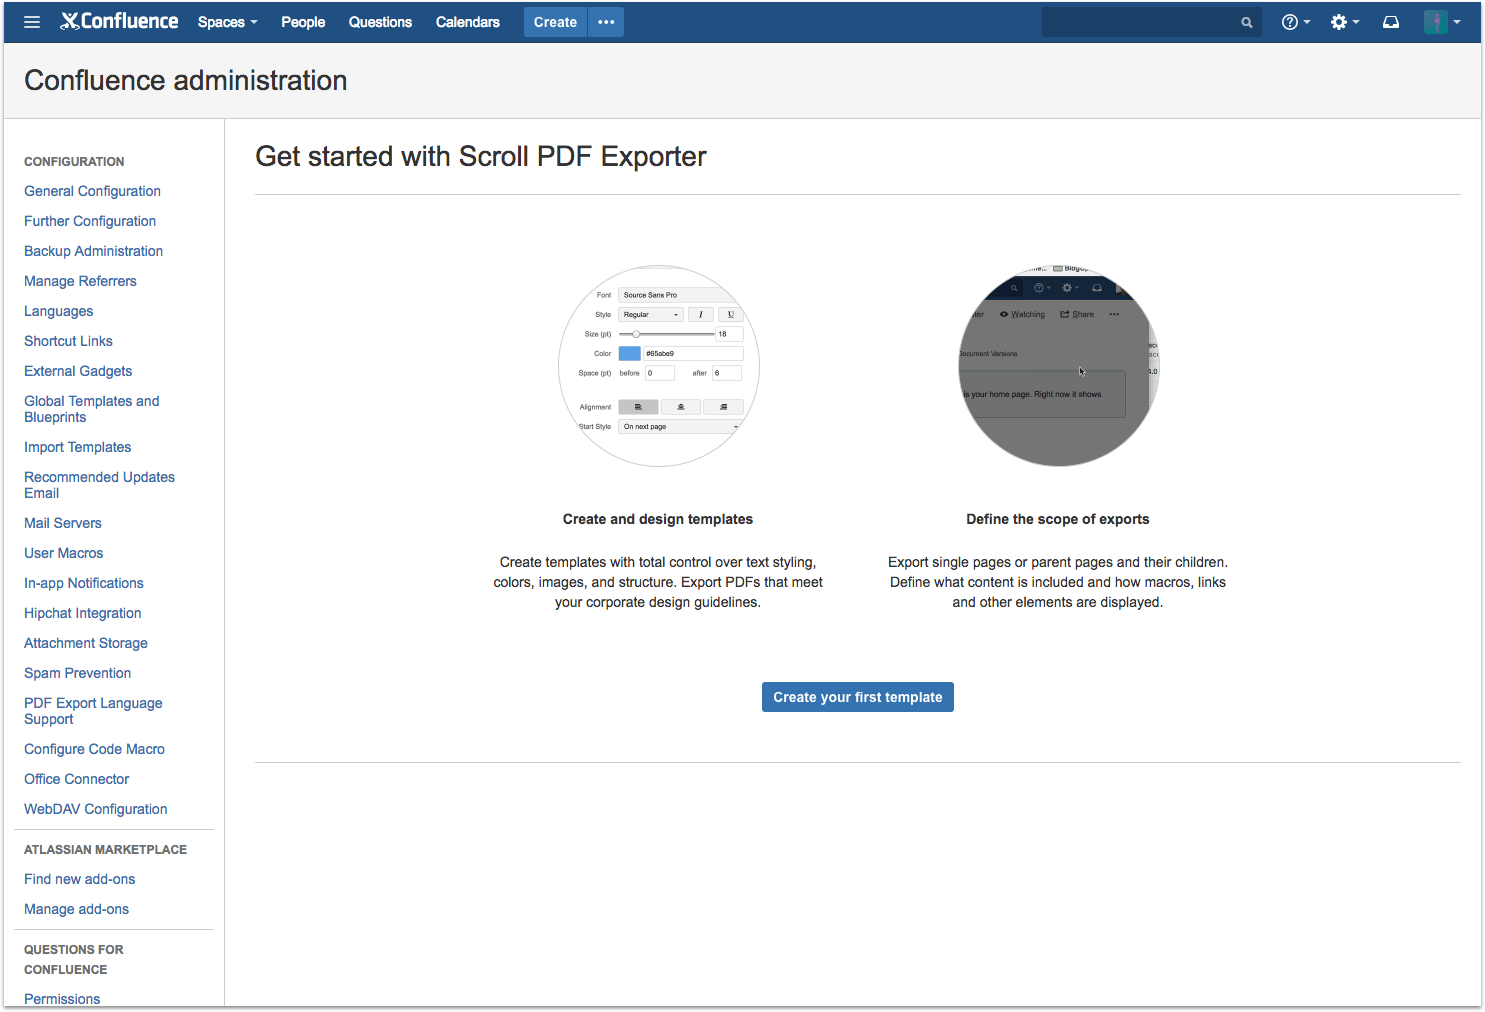
Meaningful empty states
The first time users come to a page, you may have an empty page. This is an opportunity to focus the user’s attention on what to do. Provide a clear CTA and an option to learn more about the feature. If your product is simple, this is a good technique.
Provide real examples
For complex apps, use real examples to populate a new data table. Real examples can be reused or reverse engineered. For complex cases in particular, be mindful of conveying new or abstract concepts. Help people build an understanding of the relationships between various items and objects through visual or descriptive. Explain why to help build that mental model.
Default values
For form components, provide default values so the user doesn’t have to fill it out. Do this when you believe users will fill it out the same way 80% of the time.
When you can’t define a good default value, provide tip text in and around form fields to help users understand the type of information you want submitted.
Help text
Provide support within the context of the page at key moments a user might want guidance. Take a look at your support tickets to determine a strategy for help information. Where do users struggle? What requires explanation that won’t fit into the UI?
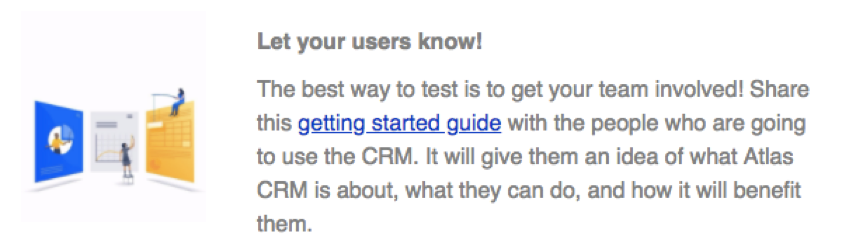
Step 4: Announce to Users
Help admins to drive awareness to end users with templates, prompts, tools. These resources can be part of your Get Started page as part of a multi-step process.
This content is part of a welcome email.

Other ideas include a widget that allows admins to email/share directly from your page.
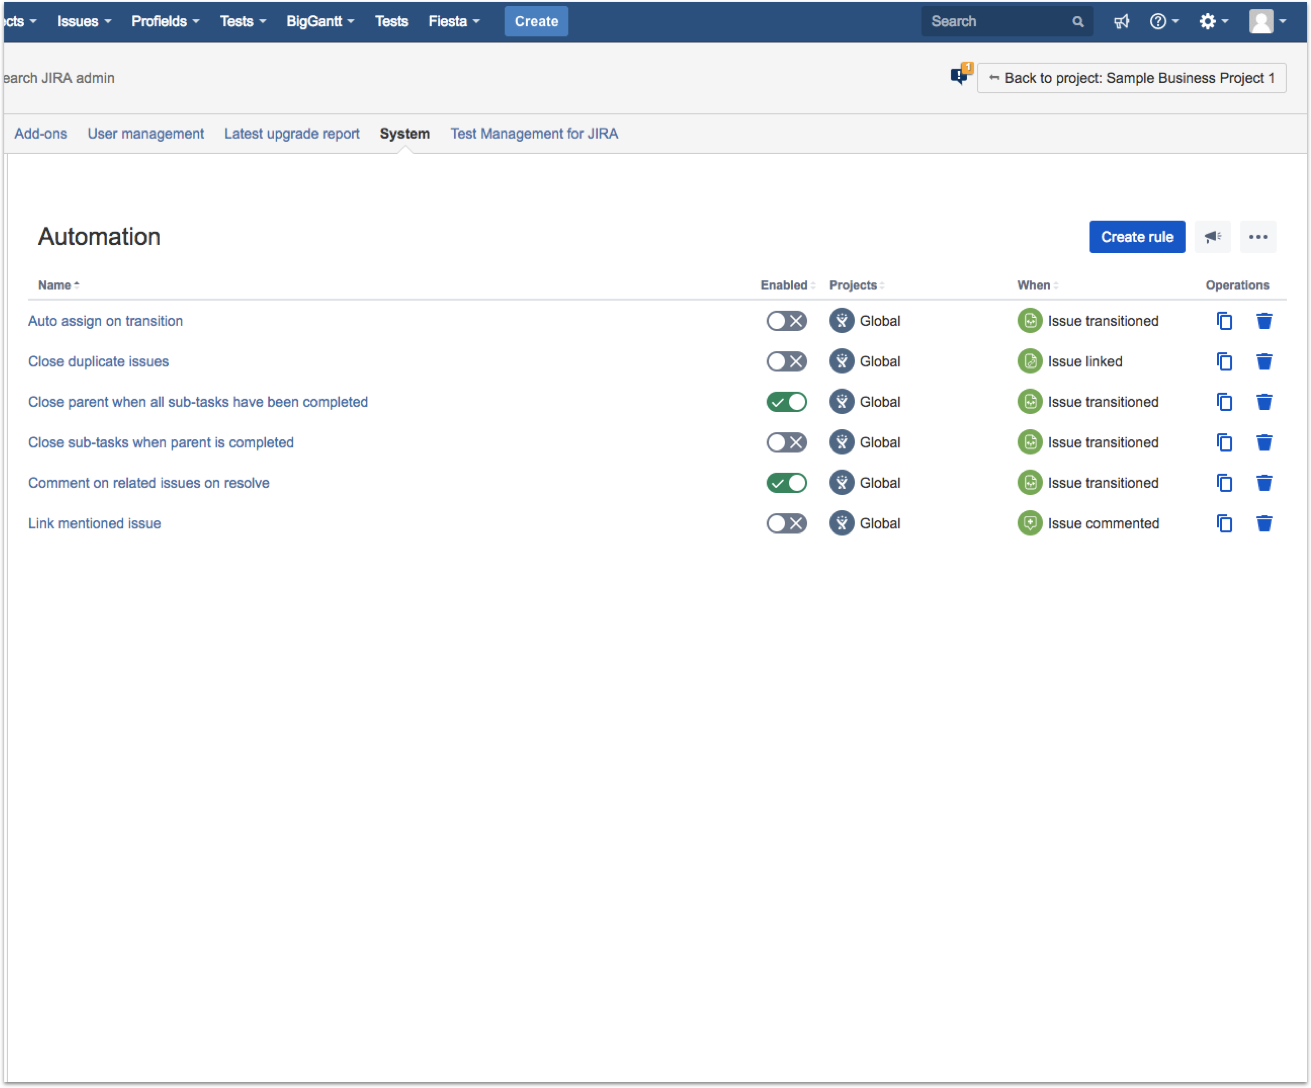
Navigation
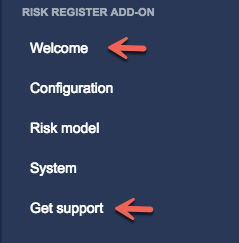
Your user may want to revisit the Get started or Configuration pages more than once, so consider placing them in the admin navigation. Let’s look at two approaches to organizing links.
Order nav items by sequence
In this example, the links are ordered sequentially in how you would engage with the app. This approach helps reinforce the order the admin should go through the app. If order is important, this is a good option.
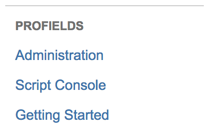
Order nav items by frequency of use
In this example, links are ordered by frequency of use. An infrequently accessed link is last. Get started is typically something users will go to when they are first learning about your product, but after that, won’t have much need.
Next, onboard end users
Learn how to apply these principles to your app onboarding journey end users, Part 3: Onboard end users.